If you haven't already created a workspace for your project and granted access to the necessary users, see our Creating a New Workspace article before continuing.
View our walk-through for new data collections or follow the step-by-step instructions below.
TOURIAL_EMBED_HERE
NOTE
Only the NetSuite connector supports the 13-period accounting calendar (also known as the retail calendar).
Getting Started
1. Click on the New Data Collection button under the Actions column for the relevant workspace from your Workspace list.
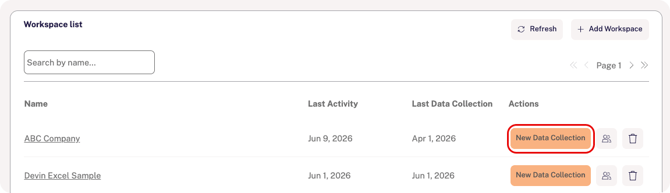
OR
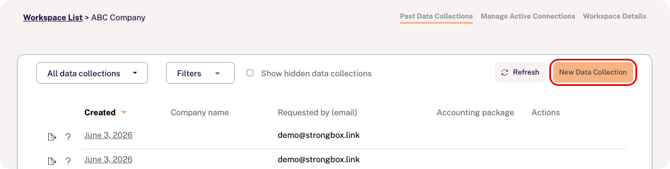
Click on the workspace name from the list and click New Data Collection in the top-right corner.
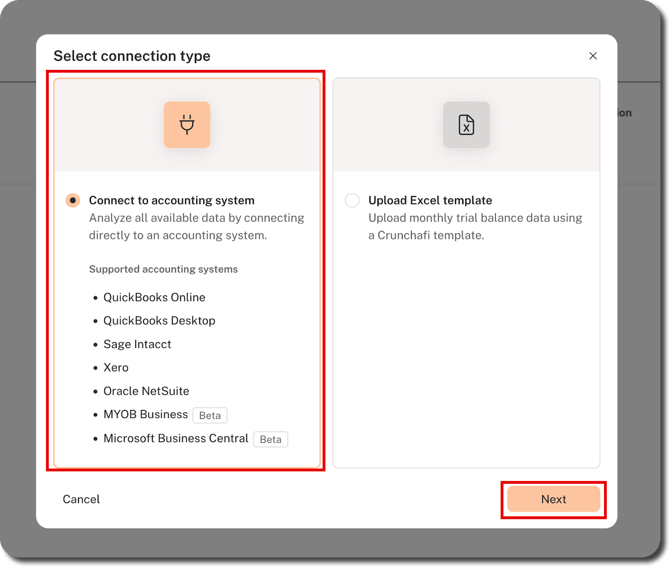
2. Confirm Connect to accounting system is selected and then click Next.
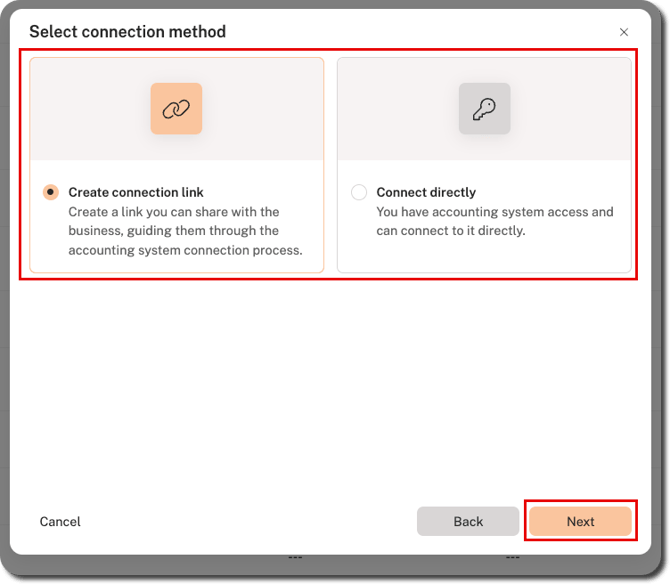
3. Choose your method of collection and then click Next:
- Create connection link: If you do not have direct access to your client's accounting system, use this option to generate and share a secure URL to prompt them for data collection.
- Connect directly: Use this option if you have login credentials for your client's accounting system.
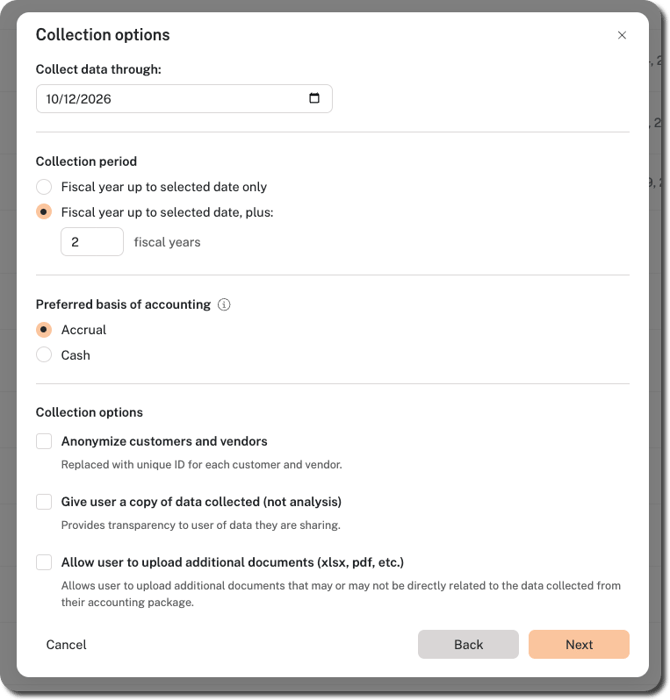
4. Choose your data collection parameters (see below for more details) and click Next:
-
Collect data through: Specify the end of the period for your data. Defaults to the current date, but you can click on the calendar icon to choose a previous month, day, and year or type the date in MM/DD/YYYY format.
-
Collection period: Defaults to collect the fiscal year to date plus 2 more fiscal years. Hover over the field and use the up/down arrows at the far-right to change the number of additional fiscal years, or choose the Fiscal year to date only option, if applicable.
-
Basis of accounting: Leave this as Accrual unless Cash applies in your scenario and is supported by your accounting system. If it is not supported, Crunchafi defaults to the available basis and flags it in the output.
-
Anonymize customers and vendors: If you prefer to anonymize your customer and vendor data, select this option.
-
Give user a copy of data collected (not analysis): Only available if sending a secure URL to your client for data collection. Selecting this option allows the client to request a download link to a copy of the reports that were shared with Data Extraction.
-
Allow user to upload additional documents: Only available if sending a secure URL to your client for data collection. Selecting this option gives them the option to attach extra files (not limited to any specific file type).
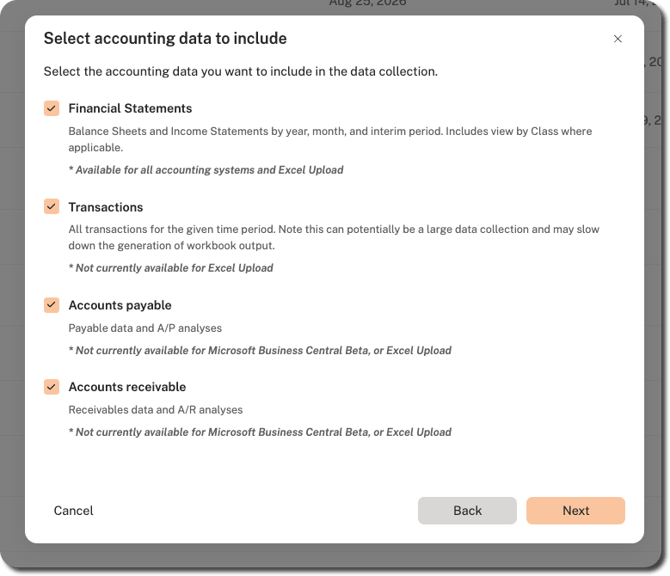
5. Confirm and/or update the types of data you want to include in your collection (i.e., Financial Statements, Transactions, Accounts Payable, and Accounts Receivable) and click Next. All options are selected by default.
💡 TIP
You can choose to include or not include financial statements and/or transactions, especially if the company you are connecting has a large volume of data that may slow down workbook production.
Next Steps
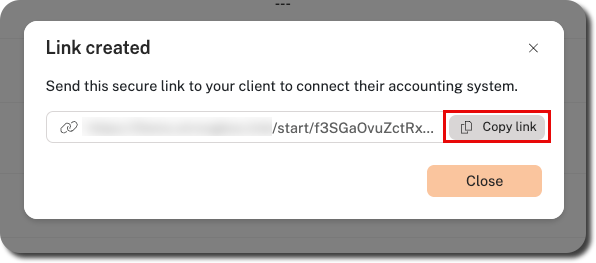
If you selected Create connection link in Step 3, Data Extraction generates a secure share URL and displays an expiration date. Click on the copy icon and send it to your client.
If you selected Connect directly in Step 3, a window appears for you to choose the relevant accounting system and takes you to the login page. For more details on connecting using one of our supported system integrations, click on the option below.
- Microsoft Business Central
- MYOB Business
- Oracle NetSuite
- QuickBooks Desktop for Windows
- QuickBooks Online
- Sage Intacct
- Xero
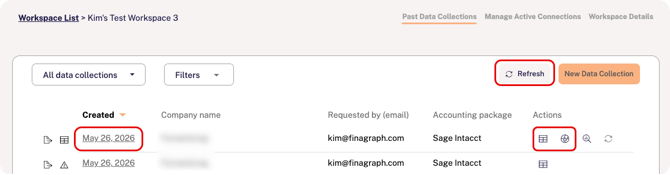
Click Refresh at the top of the workspace details page to see your new data collection.
You can click on the spreadsheet icon to the far right of the collection row to download the workbooks that were generated by Data Extraction, or you can click on the hyperlinked date under the Created column to drill down into the details, including the workbooks and financial statements.