Requirements:
There are 3 windows to move through in order to create your data collection.
First, configure your desired options for the data collection. Make sure you have selected the radio button to Connect directly, and then click the Next button at the bottom of the dialog box in order to move forward to select the time frame you'd like to collect.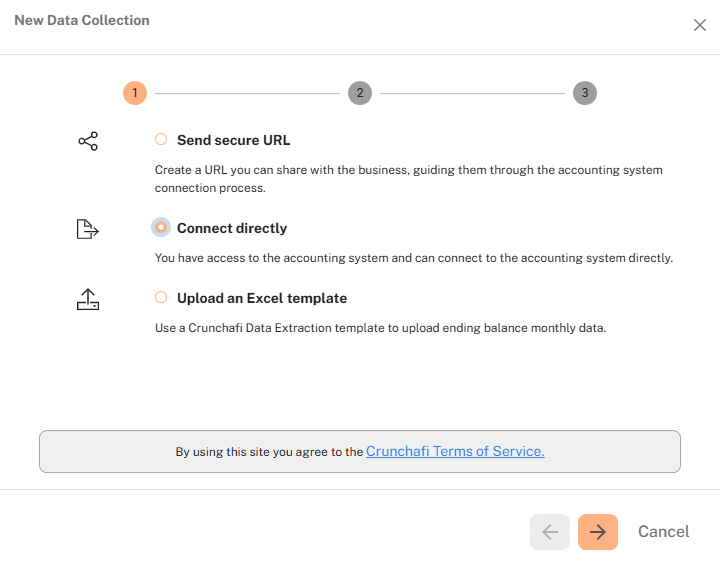
Now you can select the month of the current fiscal year, and you can either choose to gather through that month for FYTD, or you can choose up to 5 additional years of data. You can also choose your Preferred Basis of Accounting at this step as well.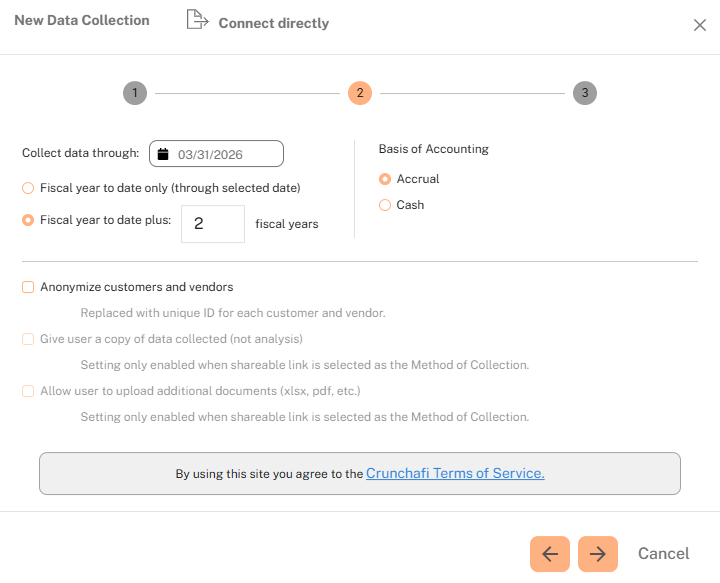
Finally, you can select the accounting data that you want to include in the data collection. Please note that Transactions can potentially be a large data collection and may slow down the generation of workbook output. After clicking Next, you will move on to selecting your accounting system.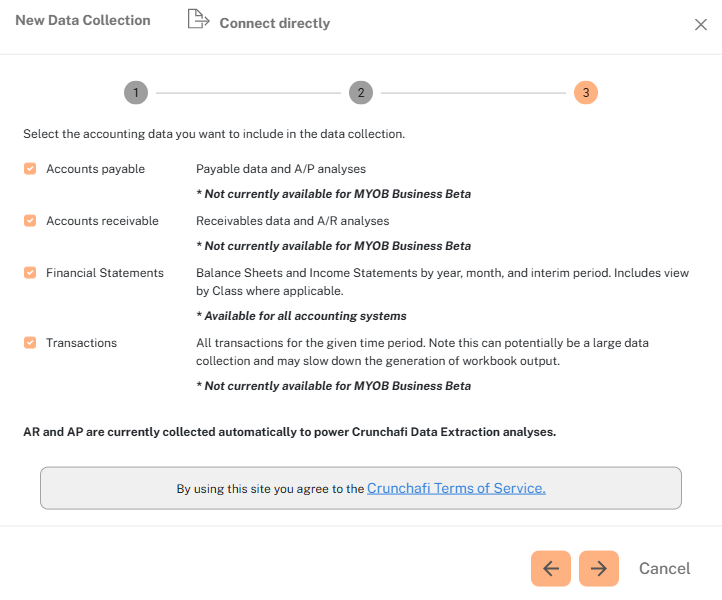
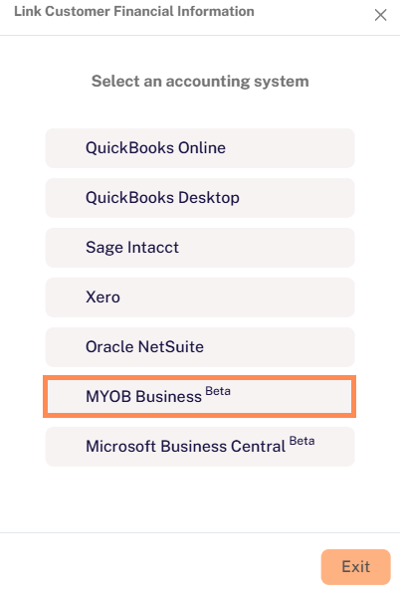
To share your financial reports, click the button for MYOB Business
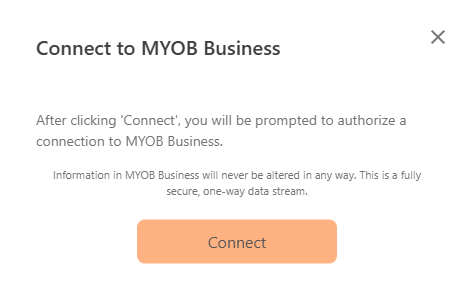
Click the Connect to MYOB button to launch the MYOB Business login screen.
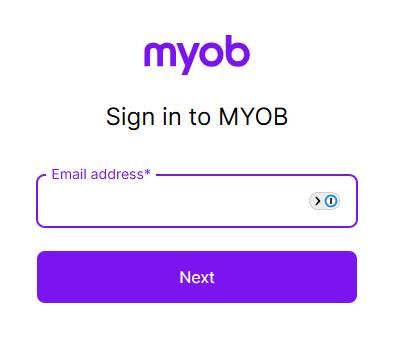
In the official MYOB Sign In window, provide the Email and Password for your account with access to the correct MYOB company.
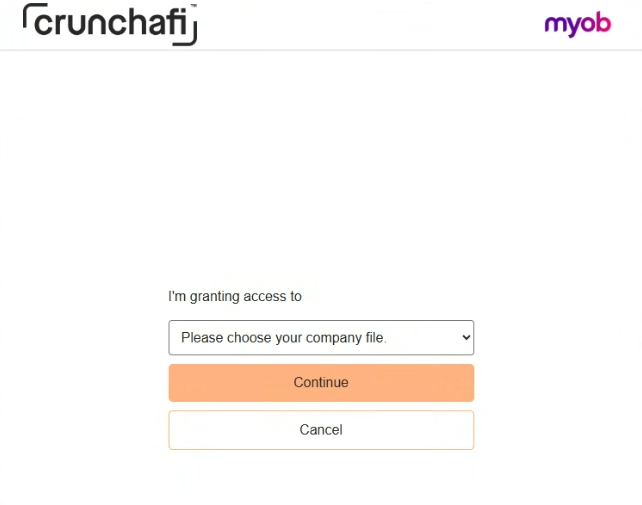
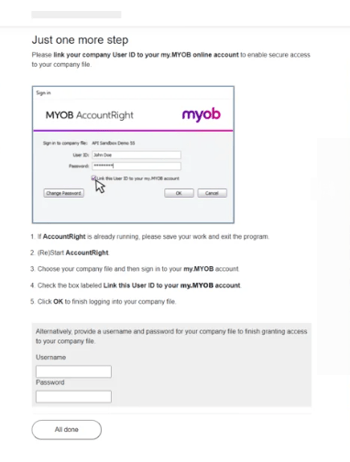
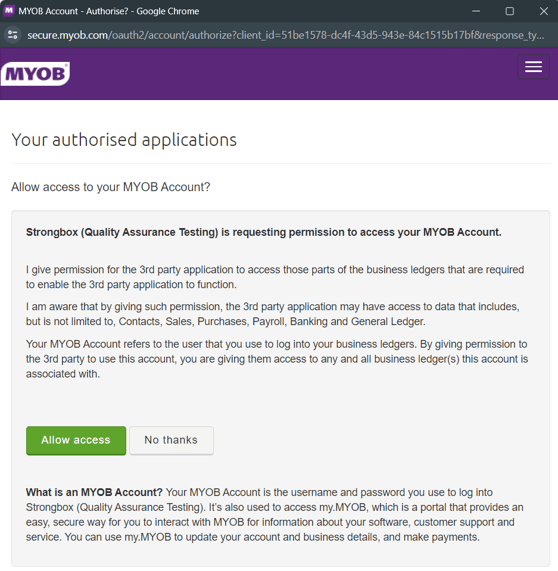
You will need to link your company User ID to your my.MYOB online account to enable secure access to your company file and provide access to Crunchafi Data Extraction. A pop-up will appear with instructions on how to continue granting permission to your file.
On the Crunchafi Data Extraction Portal Workspace list, you'll also see an indication of an import in progress.

You've successfully collected reports from MYOB!
When the Data Collection is complete, the portal will update with a success message, which includes a link to the appropriate collection where you can download the completed workbook.