
View our walk-through or follow the step-by-step instructions below.
TOURIAL_EMBED_HERE
1. Click Add Leases and select Manual entry.
2. Click Bulk Import in the top-right corner.

3. Review the lease import instructions on the right side of the page and then click on the Excel template link to download the latest version. Which template is displayed depends on the standard your organization is configured to use in Crunchafi Lease Accounting.
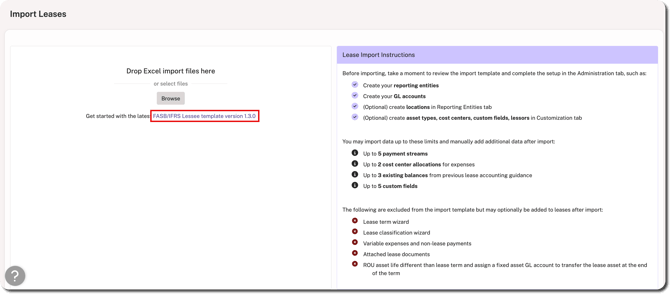
4. Fill in the Excel template with the lease information (i.e., one lease per row) and save the file to your device. On the Excel template:
- Row 1 shows the lease field names
- Row 2 indicates which fields are required
- Row 3 provides additional context or guidance for filling in values

5. Go back to Crunchafi to drag and drop the file or click Browse to find/select the file on your device.
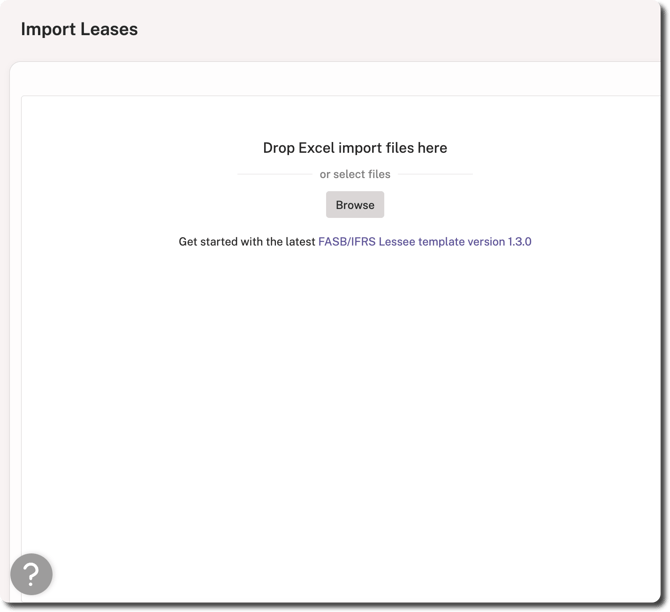
6. The uploaded file displays a status of Validated if no errors were found and the leases will appear on the My Leases page.
Bulk Import Errors
If the file upload cannot be imported, the screen displays a status of Validation Error. Click the download icon to view the error log and correct your file.
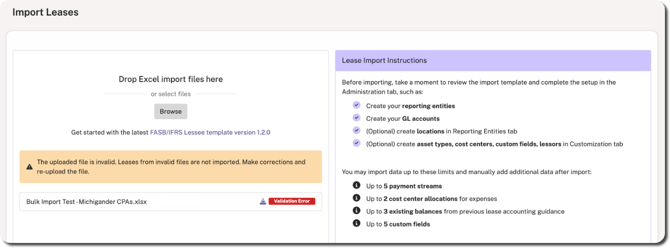
Any rows with validation errors are highlighted in red in your file. For additional guidance, view the Troubleshooting Bulk Import Error Logs article.