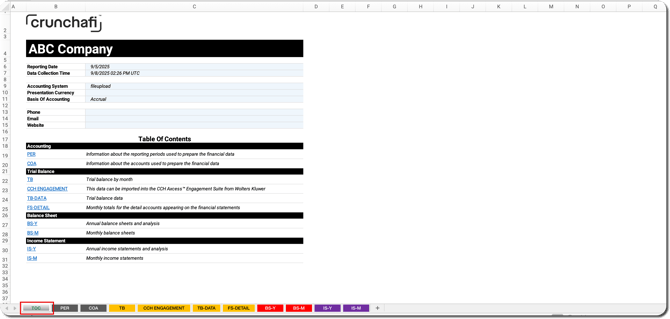
Data Extraction’s Universal Upload converts uploaded financial reports into structured, standardized Excel workbooks for auditing and analysis regardless of ERP or accounting system. This better assists firms that work with clients whose systems are not supported by our existing system integrations.
Universal Upload also reconciles General Ledger (GL) and Trial Balance (TB) data to produce a clear exception report that flags variances so that teams can address issues faster before moving forward with workbook production and auditing workflows.
Universal Upload is not enabled by default. Contact your Crunchafi CSM for assistance or click here to request access. See below for information on other data collection options in Data Extraction.
How Universal Upload Works
- Firm (or their client) exports the following from their accounting system:
- Chart of Accounts (optional but recommended for a better output)
- Trial Balance (must be separated by month and include opening balances)
- General Ledger (must have the following minimum required fields: Account Name, Amount, and Transaction Date)
- Firm chooses one of the following upload options:
- Upload directly (i.e., if the firm already has the files)
- Share secure upload link (i.e., if the client should upload the required files)
- User uploads Chart of Accounts (optional but recommended)
- User uploads Trial Balance for the period specified in the collection parameters
- User uploads General Ledger for the period specified in the collection parameters
- General Ledger undergoes a validation check, and AI automatically maps column headers to system fields. User can review and update the mapping before moving forward
- Trial Balance and General Ledger data is reconciled:
- If any variances are found, an exception report is produced so that the user can review/correct any errors and re-upload the files to move forward with processing
- User also has the option to move forward with exceptions (not recommended)
- AI completes classification mapping for accounts in the uploaded data. User can review and update the mapping before moving forward
- Data is submitted and workbooks are produced for further analysis and reporting. Which workbooks are produced depend on your firm's Data Extraction plan
For step-by-step instructions on using Universal Upload, click here.
Other Data Collection Options
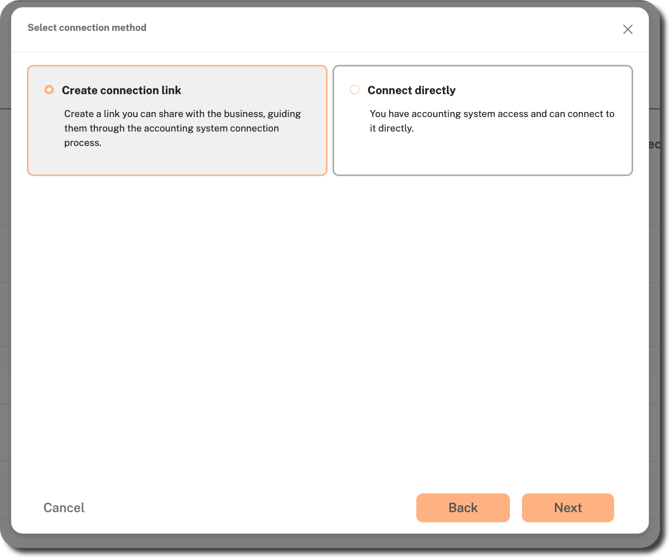
If your firm does not have Universal Upload enabled, you will see one of the following screens when you click New Data Collection depending on your firm’s current plan:
Option to Create connection link or Connect directly. This means that your firm is currently only using Crunchafi’s connections to third-party systems for data collection activities.
OR
Two collection options: Connect to accounting system or File Upload. This means your firm is currently using our original Excel template upload option in addition to third-party connections.
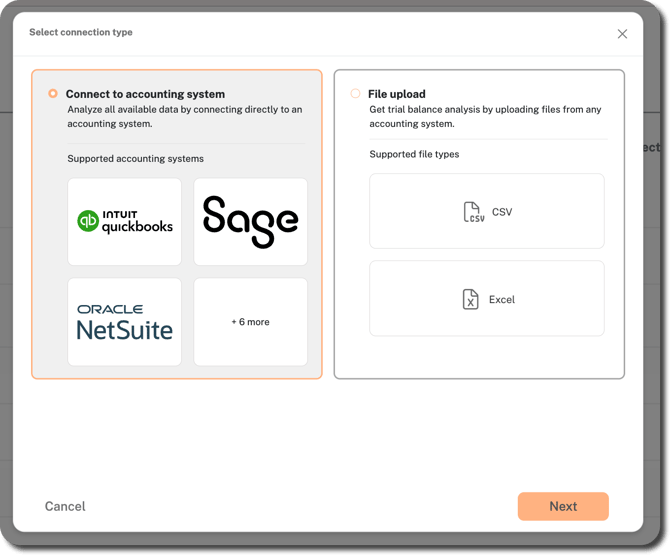
If your firm enables Universal Upload, it will replace the original Excel template option.
Using the Excel Template Upload
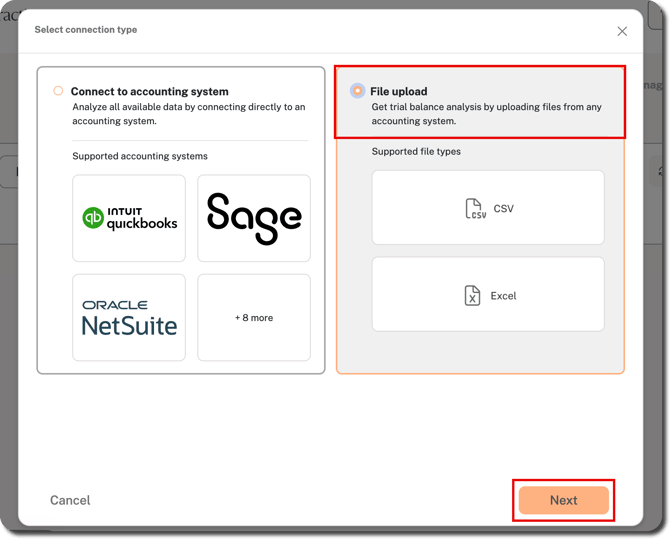
- Select File Upload from the connection type screen and click Next.
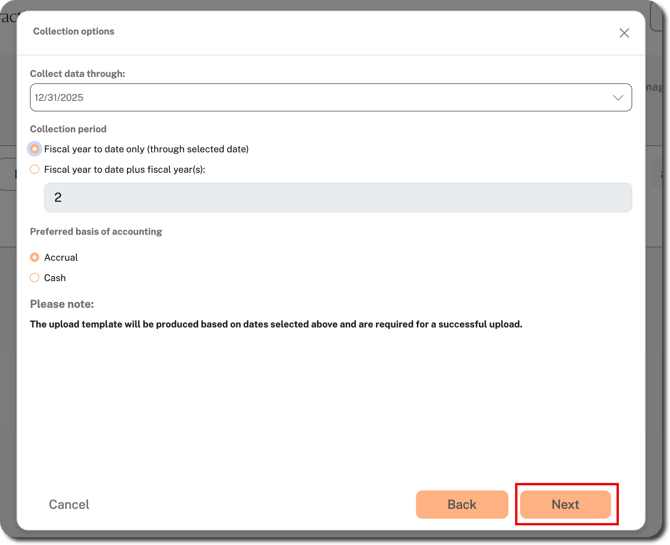
- Select/enter the parameters for data collection (all fields are required) and click Next:
- Collect data through: Specify the end of the period for your data. Defaults to the current date, but you can click on the arrow at the far-right of the field to choose a previous month, day, and year.
- Collection period: Defaults to collect the fiscal year to date plus 2 more fiscal years. Hover over the field and use the up/down arrows at the far-right to change the number of additional fiscal years, or choose the Fiscal year to date only option, if applicable.
- Basis of accounting: Leave this field set to Accrual.
- Review which type of data can be used for workbook outputs and click Next.
The Excel upload template only uses Financial Statement data for workbook production (e.g., balance sheets, income statements, or trial balance).
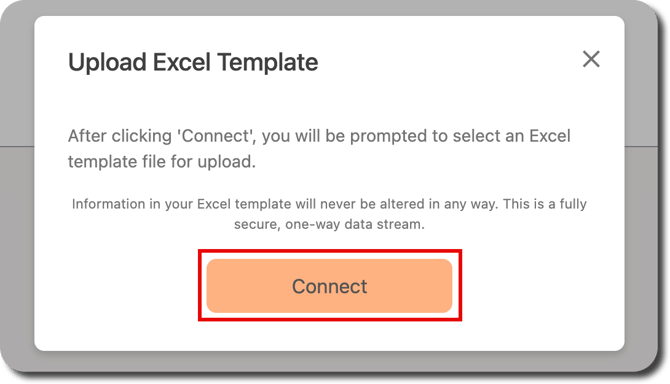
- Click Connect when prompted.
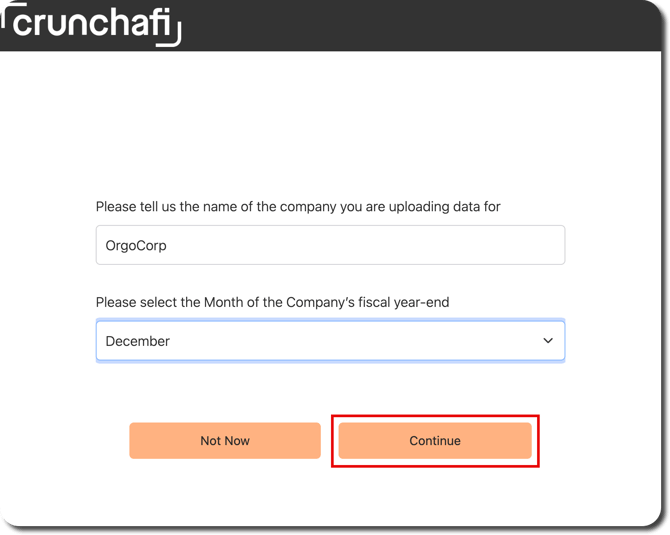
- Enter/select the following and click Continue to generate a custom Excel template for your data:
- Enter the name of the company for which you are uploading data
- Select the month of the company’s fiscal year-end
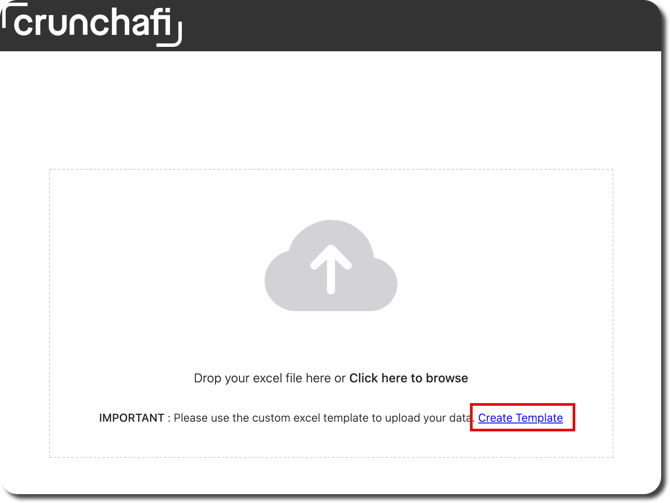
- Click Create Template to download the custom template. The template is produced based on the collection parameters from Step 2.
-
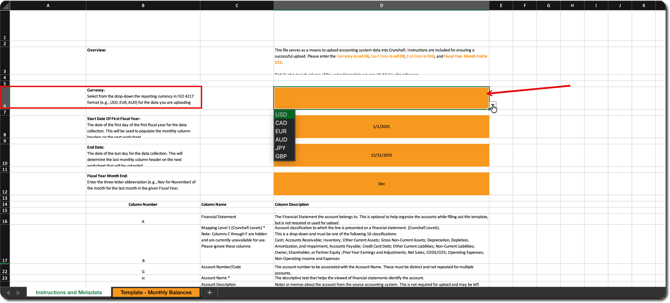
Open the file and review the instructions and metadata in the first tab.
- Select the currency from the dropdown in Column D, Row 6.
-
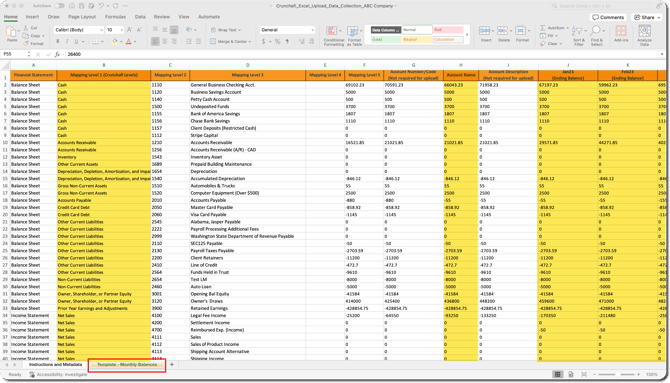
Switch to the Template – Monthly Balances tab to enter your data. The following minimum information is required for successful file processing:
- Column B: Mapping Level 1 (i.e., account classification for mapping to Crunchafi)
- Column H: Account Name
- Column J through end: Ending balance for each month in the template (do not leave any cells blank and each column must sum to 0)
- Save the file to your device.
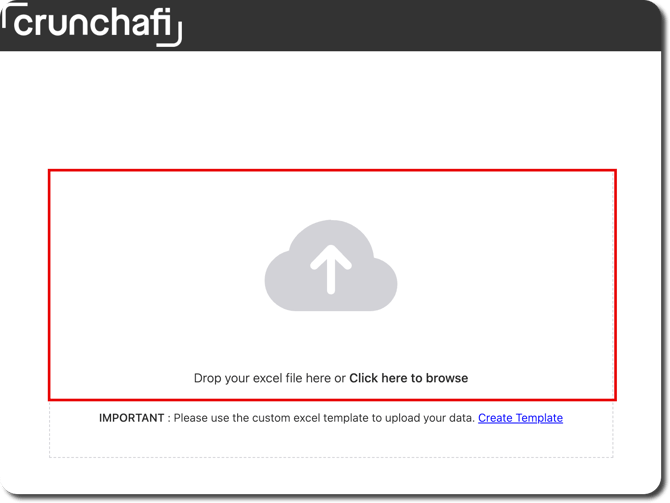
- In Data Extraction, drag and drop the Excel file or choose Click here to browse. If the upload is not successful, errors will be highlighted so that you can correct and re-upload the file.
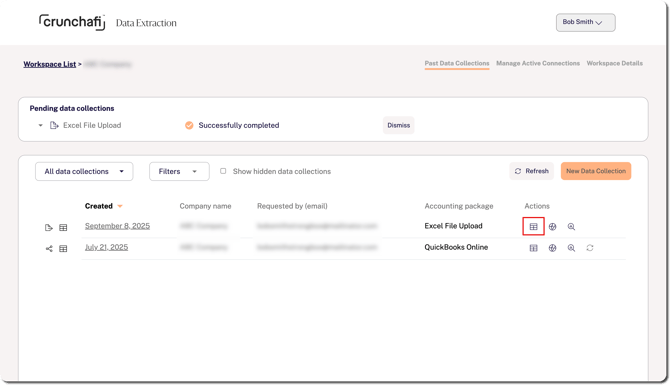
- From the workspace details page, click on the table icon under the Actions column to view the Data Extraction workbook output.
- Choose the relevant output files and click Download Files.
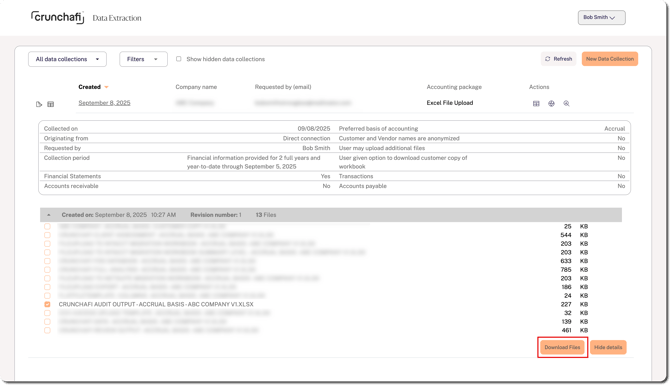
Which output files are available for a collection depend on your firm’s plan.
- Use the TOC tab to view available reports.