With Account Mapping, firms can create custom templates and reuse them to highlight and automatically key data every time.
NOTE:
If you do not see the Financial Statements tab on the details page of a data collection, this means Account Mapping has not yet been enabled for your portal. Reach out to your Customer Success Manager for more information.
If you're not sure how to initiate your first data collection, see our article Creating a New Data Collection for step-by-step instructions.
Account Mapping for Template Creation
1. Once the collection completes, there are two ways to access the Account Mapping:
-
-
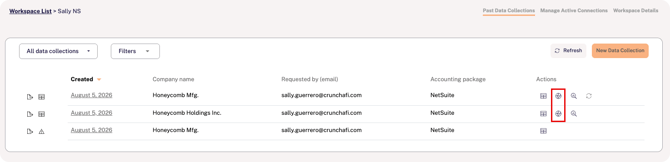
Hover over the workspace name from the list and click the globe icon, or click on the icon under the Actions column from within the workspace details.

-
Click on a collection name from the workspace details page and then go to the Financial Statements tab.

-
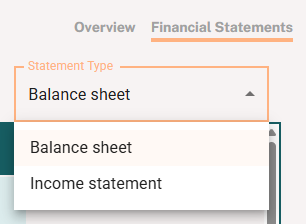
2. Two types of financial statements can be mapped: Balance Sheet and Income Statement. Use the Statement Type dropdown to switch between the types.
3. Select the Reporting Period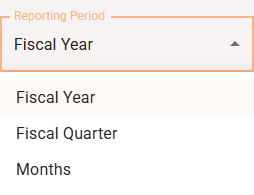
4. Filter the data by Account Number or alphabetically by account name.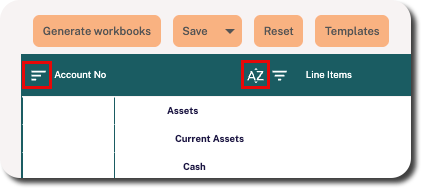
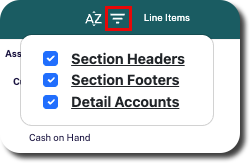
6. Click +Add classification to further customize your template.
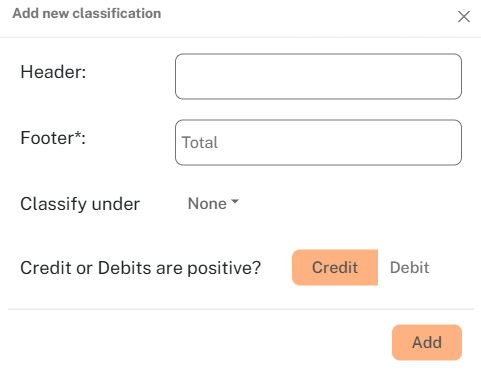
7. For classifications, do the following and click Add:
-
Enter a footer name (required) and header name (optional)
-
Select the classification category from the Classify under dropdown
-
Choose Credit or Debit to specify if either credits or debits are positive
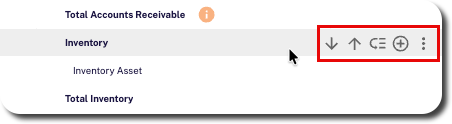
NOTE
Some headers, footers, and sections cannot be deleted until the line items have been moved out or deleted.
9. Click the arrow on the Save button and select Save as template for future use. 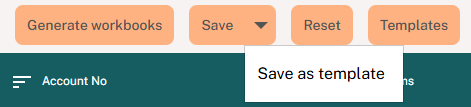
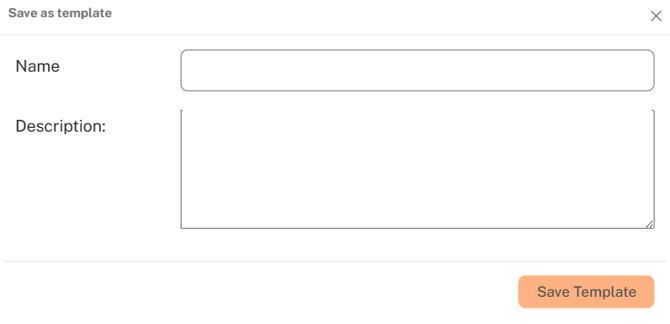
10. Enter a unique name for the template. We recommend using a specific naming convention as all templates are accessible to other portal users from your firm. Click Save Template.
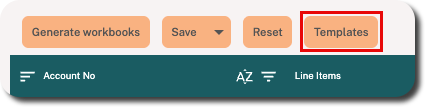
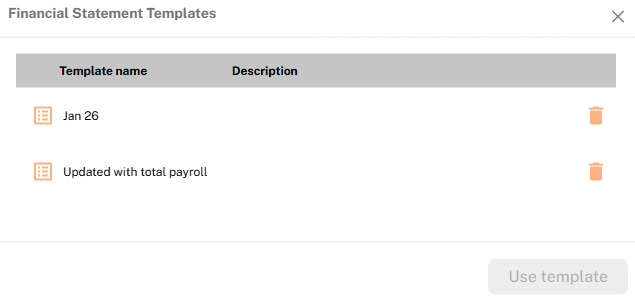
The template can now be applied to future Income Statements and Balance Sheets in the portal. Click on the Templates button to view and select the one you want to apply.
Re-Generating Workbooks with a Template
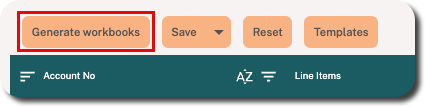
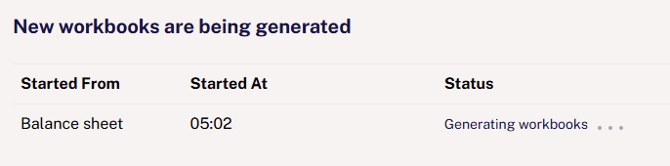
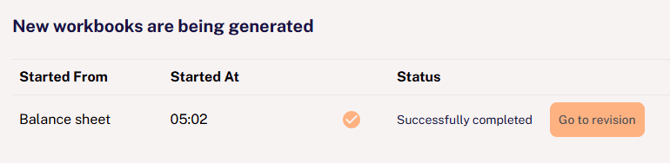
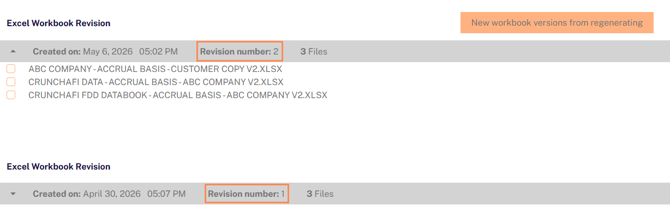
1. After applying the template to the Income Statement or Balance Sheet for a specific data collection, click the Generate Workbooks button.