Sharing Requested Data
1. Copy and paste the secure URL shared by your firm into your browser.
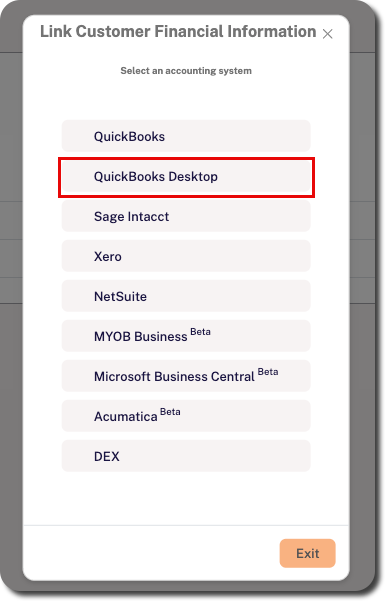
2. Select QuickBooks Desktop from the list.
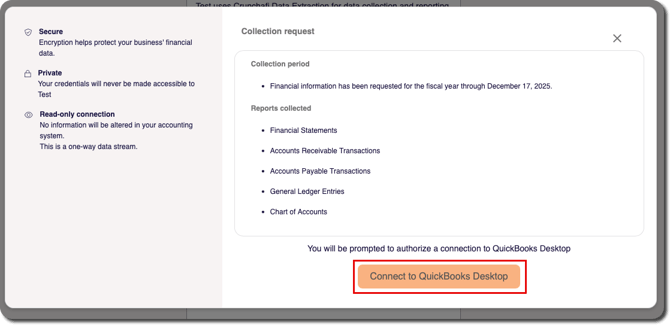
3. Review the additional context for the information requested by your firm via Crunchafi Data Extraction, including which reports were requested. Click Connect to QuickBooks Desktop.
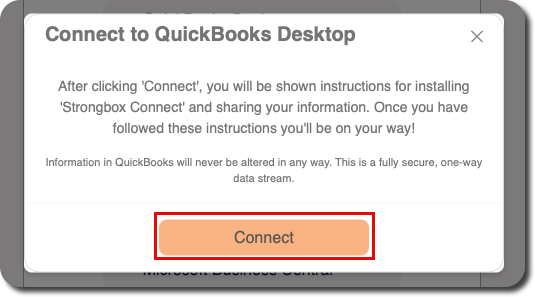
4. Click the Connect button to launch the Connect to QuickBooks Desktop guide.
5. Click Get Strongbox Connect to download and install the application.
- Crunchafi/Strongbox Connect only needs to be installed once. You'll be notified if an upgrade is available. If you have already installed the latest version, skip to Step 6.
- If QuickBooks is open, close it before opening the install file.
- Find the file that was downloaded and open it in order to install the latest version.
- For Chrome or Microsoft Edge, click Allow if prompted to confirm that you want to allow Crunchafi Data Extraction to access the QuickBooks Desktop file. This applies if it is your first connection or if a lot of time has passed since the last connection.
6. Open your QuickBooks company file as the admin user after Connect has been installed.
NOTE
You must log in as the admin user in order to approve access needed by Crunchafi/Strongbox Connect and pull the necessary reports.
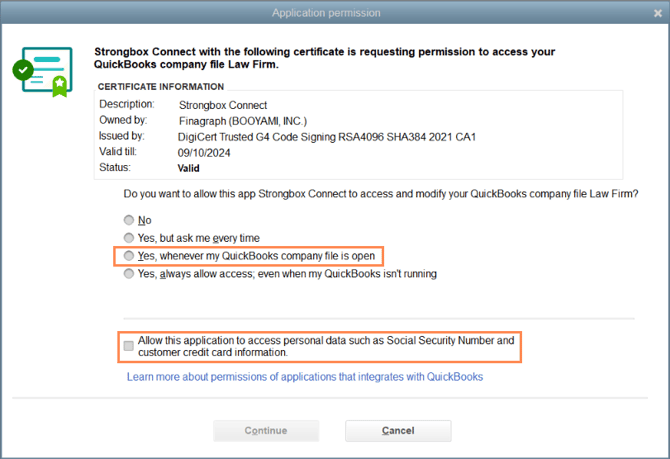
7. Grant access to Crunchafi/Strongbox Connect.
- The first time you open a QuickBooks file as an admin, QuickBooks will prompt you to grant access to Crunchafi/Strongbox Connect.
- Select Yes, whenever this QuickBooks company is open.
- Select Allow this application to access personal data such as social security numbers and customer credit card information.
NOTES
Social security numbers and credit card numbers are NOT collected. This setting allows you to share high-level payroll information with Crunchafi Data Extraction.
If the QuickBooks - Application Permission window shown below does not appear, confirm that you are logged in as an admin.
8. Click Continue.
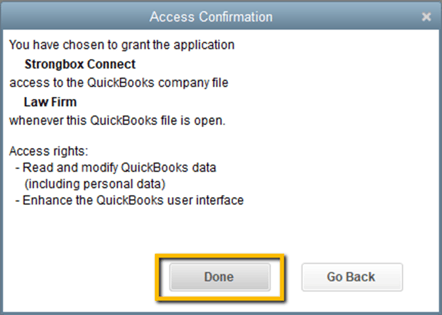
9. Click Done on the Access Confirmation window.
10. Click Continue to confirm.
11. Keep the QuickBooks file open and return to the Connect to QuickBooks Desktop guide window to click the Connect to Crunchafi/Strongbox button.
Next Steps
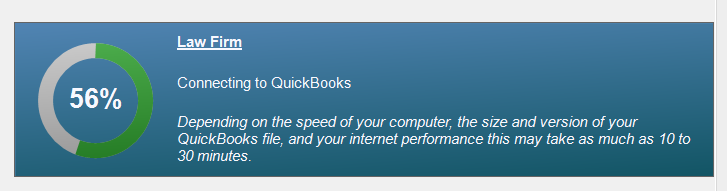
When the connection starts, you will see a progress chart appear in the lower-right corner of your screen.
The Crunchafi Data Extraction portal web page will also provide a progress bar and status updates.
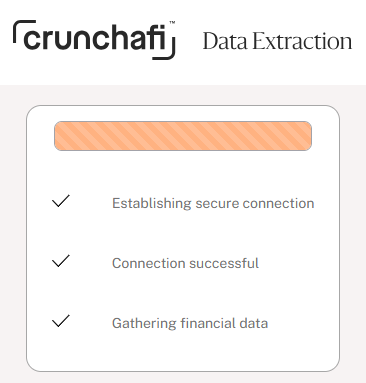
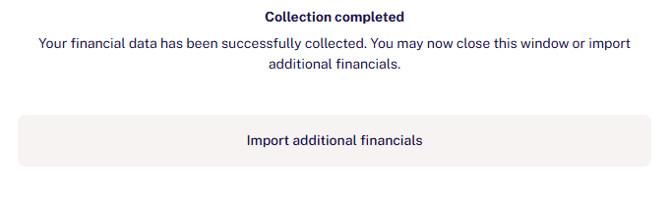
The Crunchafi Data Extraction window will display when the collection is completed and you have successfully collected reports. Depending on your firm's collection settings, you may have the opportunity upload additional documents or download a copy of the submitted reports.