
Requirements
- You must log into NetSuite as an admin.
- Follow the steps in the NetSuite Configuration article to enable REST Web Services and Token-Based Authentication before continuing.
- If logging into the system directly is not an option, consider generating a secure URL to share with your client for data collection.
Data Collection & Direct Connection
1. Start a new data collection from the workspace.
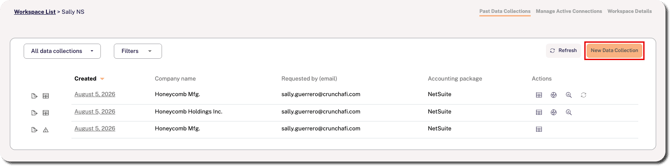
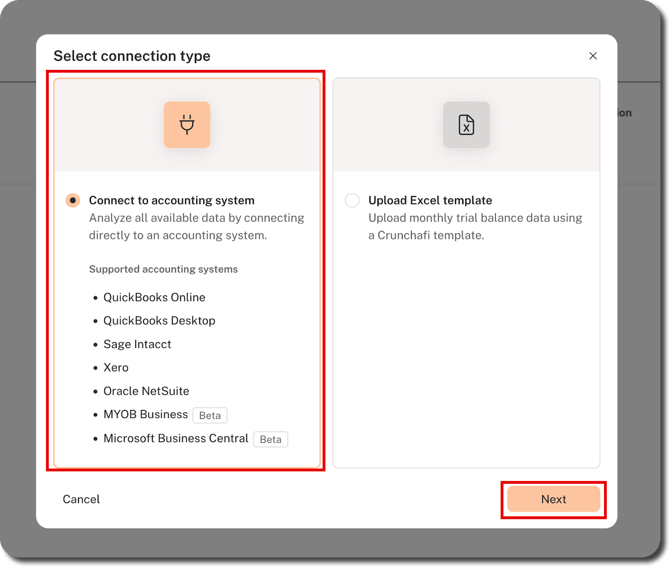
2. Select Connect to accounting system and click Next.
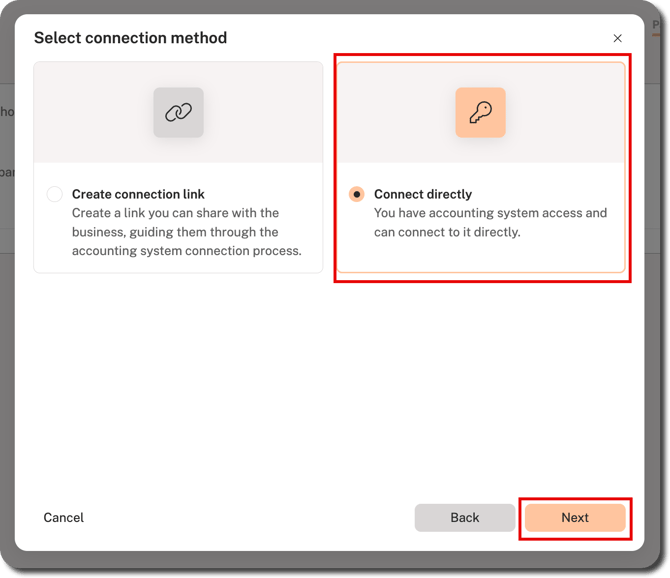
3. Select Connect directly and click Next.
4. Choose your collection parameters and click Next.
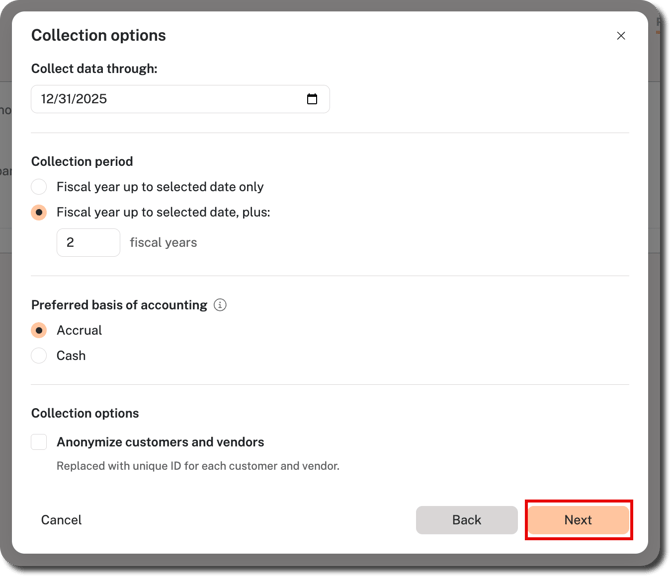
- Collect data through: Specify the end of the period for your data. Defaults to the current date, but you can click on the calendar icon to choose the previous month, day, and year or type the date in MM/DD/YYYY format.
- Collection period: Defaults to collect the fiscal year to date plus 2 more fiscal years. Hover over the field and use the up/down arrows at the far-right to change the number of additional fiscal years, or choose the Fiscal year to date only option, if applicable.
- Basis of accounting: Leave this as Accrual unless Cash applies in your scenario and is supported by your accounting system. If it is not supported, Crunchafi defaults to the available basis and flags it in the output.
- Anonymize customers and vendors: If you prefer to anonymize your customer and vendor data, select this option.
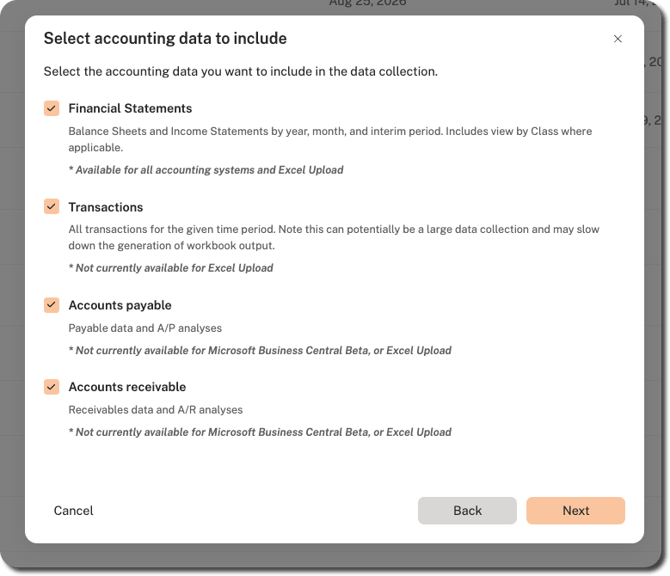
5. Confirm and/or update the types of data you want to include in your collection (i.e., Financial Statements, Transactions, Accounts Payable, and Accounts Receivable). All options are selected by default. Click Next.
💡 TIP
You can choose to include or not include financial statements and/or transactions, especially if the company you are connecting to has a large volume of data that may slow down workbook production.
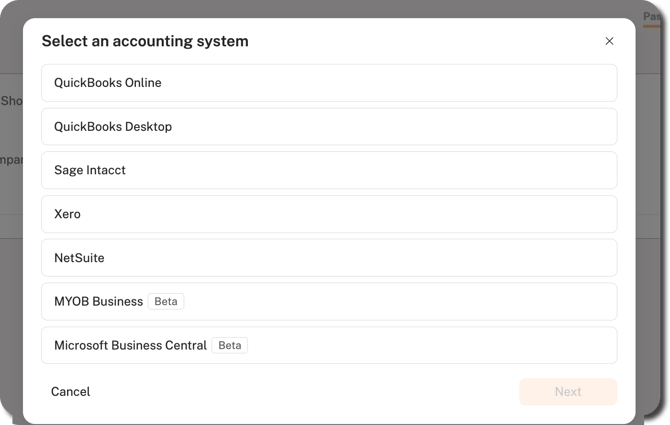
6. Select NetSuite and click Next.
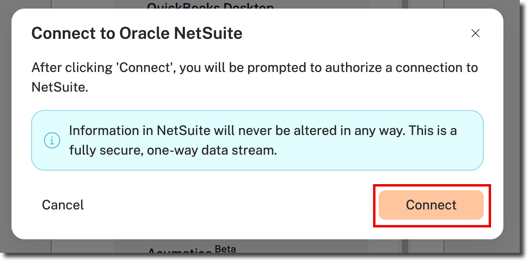
7. Click the Connect button to confirm.
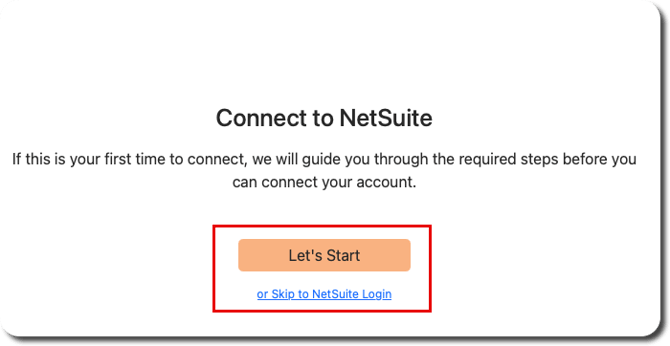
8. If you have already completed the required configuration steps, click Skip to NetSuite Login to enter your admin login credentials and complete two-factor authentication (if applicable). If you have not completed configuration, click Let's Start for instructions.
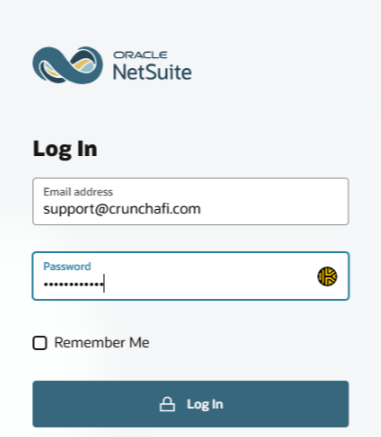
9. Enter your admin credentials on the NetSuite login page.
NOTE
You may be prompted to enter a Two-Factor Authentication (2FA) code depending on your account settings.
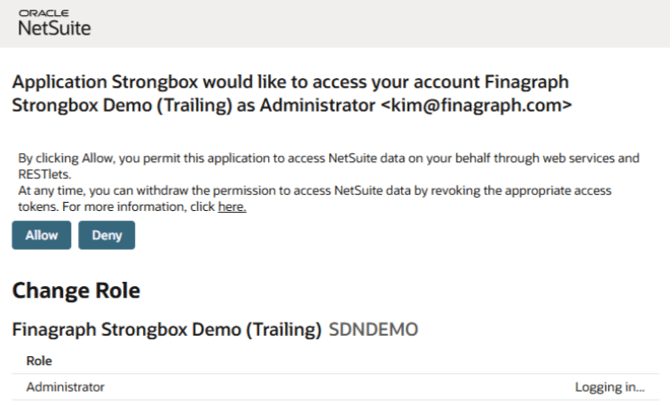
10. Click Allow to confirm you want to grant NetSuite access to Data Extraction via web services.
NOTE
If you have access to multiple company files, first click Choose account next to the correct company at the bottom of the screen and then click Allow.
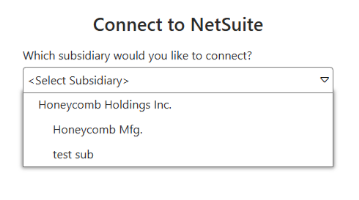
12. Click the Select button to start the connection.
Next Steps
The workspace list will show that the import is in progress.
Once completed, you will see a success message and a link to the appropriate collection details page where you can download the completed workbook(s).