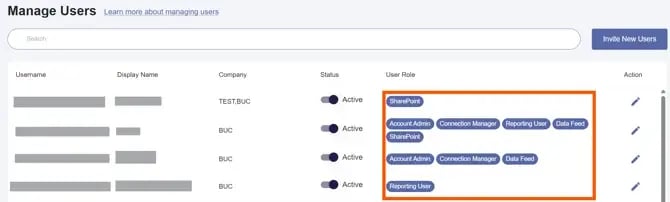
This article covers the following:
- Adding users to your BUCS account
- Resending the user invite
- Deactivating a user
- BUCS Analytics user permissions
You will have a specified number of users included in your contract. You can always add additional accounts for colleagues as needed.
⚠️ IMPORTANT
Additional fees may apply when new users are added. Contact your account team for pricing information.
Adding Users to Your BUCS Account
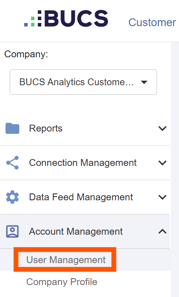
- Navigate to BUCS Customer Portal > Account Management > User Management.
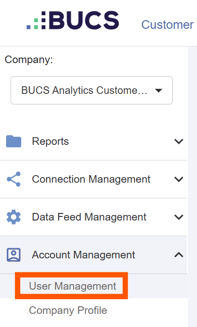
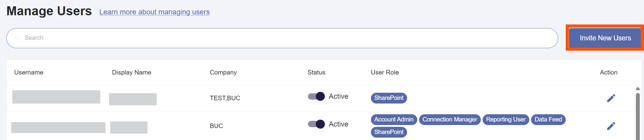
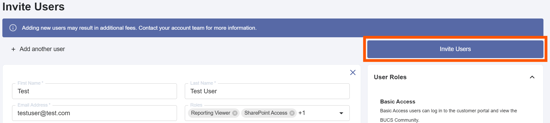
- Click Invite New Users.
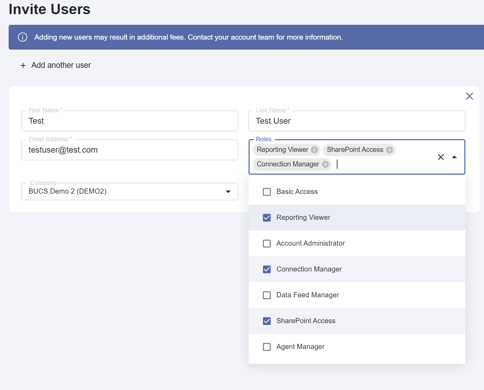
- Enter the user's Email Address, Name and Company (if applicable). Assign the user the appropriate Roles.
💡 TIPS
If you want to add more than one user click the + Add another user link. Review the user role definitions to ensure you are granting correct access.
- Click Invite Users. An email invite will be sent to the email address(es).
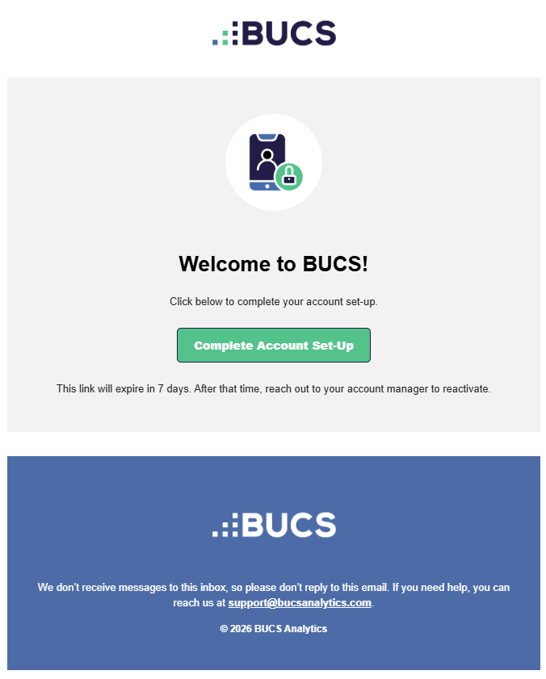
- The user must click the Complete Account Set-Up link in their email to complete their account setup. Users will not appear as active until a password is created.
Resending a User Invitation
Once a user is invited to your BUCS account, they will receive an email to complete their setup. You can resend user invite emails from your BUCS account.
🗒️ NOTE
The new user invitation link expires within 7 days of receipt.
- To resend a user account set-up invite, navigate to BUCS Customer Portal > Account Management > User Management.
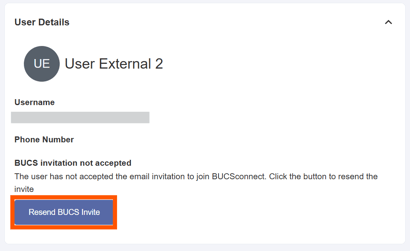
- Locate the user you want to resend the invite to and click the Edit icon under the Action column.

- Click the Resend BUCS Invite.
- The user must click the Complete Account Set-Up button in their email to complete their account setup. Users will not appear as Active until they complete their account setup and set an account password.
Deactivating Users
You can remove users from your BUCS account if individuals leave your organization or no longer require access.
- Navigate to BUCS Customer Portal > Account Management > User Management.
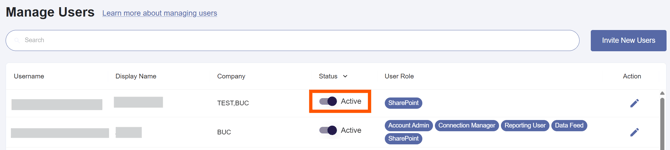
- Find the user you want to deactivate and click on the Status Toggle to switch the user to Inactive.
User Permissions
ℹ️ NOTE
Only users with Account Administrator role can manage permissions. Multiple users can be assigned the role of Account Administrator.
- Navigate to BUCS Customer Portal > Account Management > User Management.
- Find the user you want to update and click the Edit icon under the Actions column to access the user details.

- Click on the role toggle to assign or remove additional role permissions for the user.
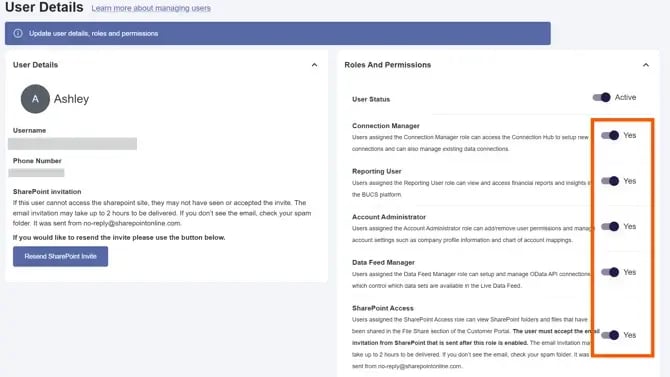
- Role badges appear in the Manage Users table so you can quickly review which users have which role permissions.